Mirador La Tarta is a roadside stop on Tenerife’s TF-24 where pale pumice and dark volcanic deposits form a striped “cake”. I’d include it on a ridge-road drive to Teide: the geology rewards a short stop, while nearby viewpoints give you the wider mountain panorama. It isn’t a destination that needs a whole day.
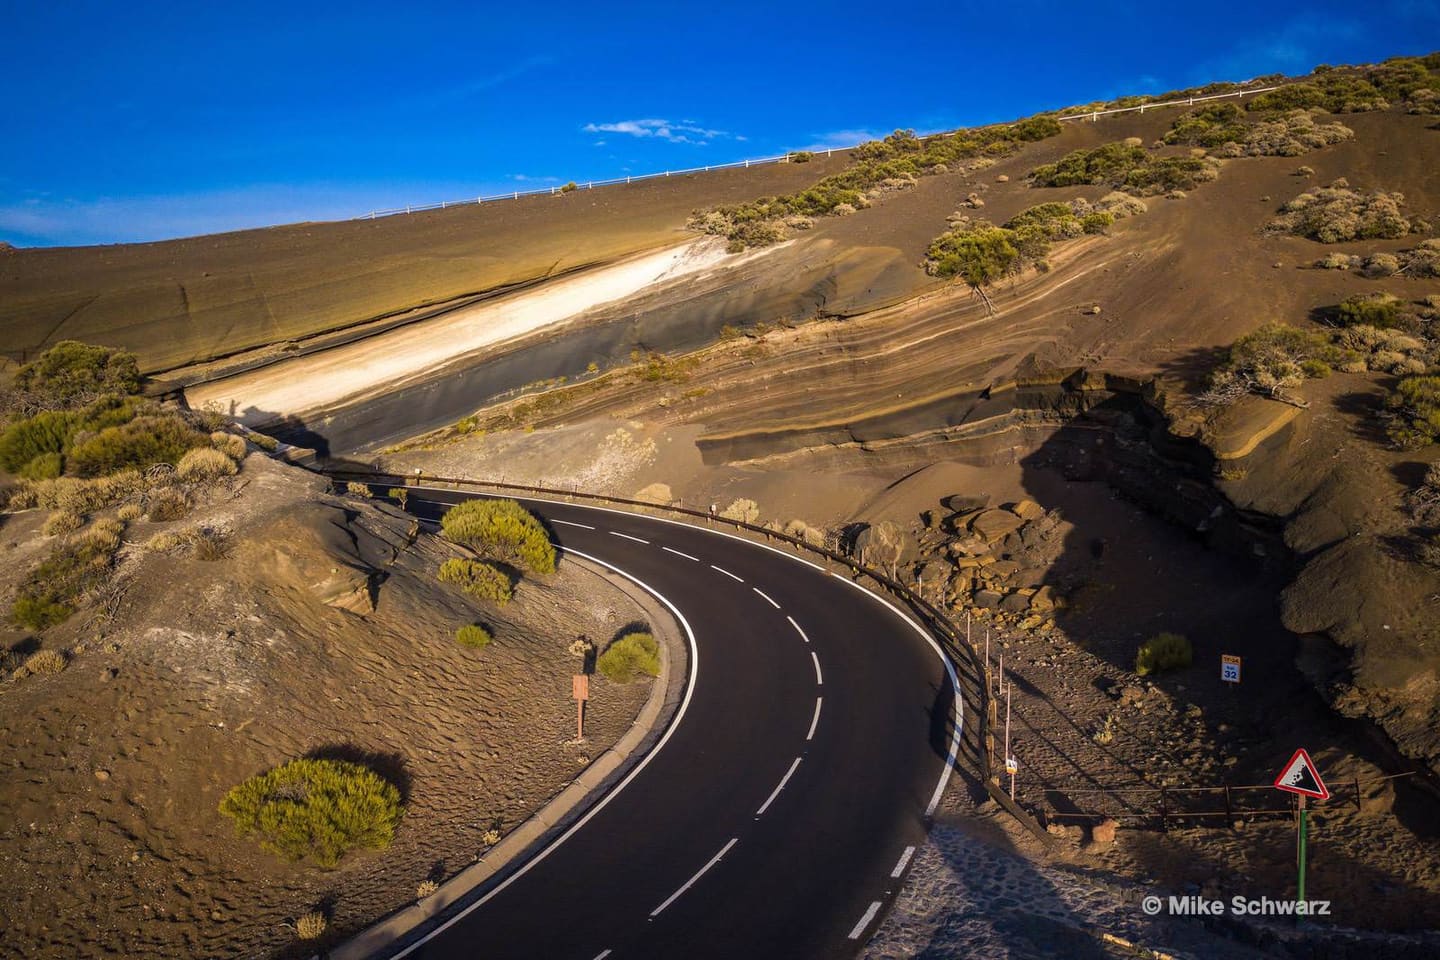
Cover photograph: the striped volcanic road cutting at La Tarta, photographed by Mike Schwarz.
Why La Tarta del Teide looks like a layer cake
The name means “the cake”, and the exposed bands explain it immediately. Look beyond the colours and you’ll notice differences in grain size, texture and the way each band breaks down. The road cutting makes those contrasts easy to see without a demanding mountain walk.
This is a pyroclastic sequence: material thrown out during eruptions and deposited in layers. Describing the whole face as a stack of lava flows misses that distinction. Ash is fine material; lapilli are larger volcanic fragments; scoria is vesicular volcanic debris. Those terms explain why the dark deposits can resemble gravel rather than a solid sheet of rock.
The pale band contains phonolitic pumice, a light volcanic material full of gas bubbles. The darker deposits include basaltic lapilli and scoria. The older reddish lower material has undergone alteration; colour alone doesn’t tell you its exact age. The Spanish Geological Survey’s La Tarta inventory identifies these contrasting deposits and their relationship.
I’d start by picking out one pale band and following it sideways, then compare its texture with the material above and below. That is more revealing than trying to memorise every geological term before arriving. A photograph can record the pattern, but a few minutes looking carefully helps you understand it.
Stay in the designated viewing area. Don’t climb the cutting, scrape a layer or collect a piece of pumice as a souvenir. The point of this stop is that the sequence remains visible in place; a loose fragment tells you much less. For the larger volcanic setting, read the Teide guide before choosing your other stops.
Reading the eruption sequence without inventing dates
The layers record more than one eruptive process. The geological inventory interprets the pale pumice between dark deposits as evidence of interaction between activity on the north-east ridge and the central volcanic system. It discusses a phonolitic eruption occurring between basaltic episodes, rather than a simple story in which every band came from today’s summit cone.
That is a useful correction to the phrase “Teide covered the ground again and again”. The Cordillera Dorsal, the ridge followed by the road, has its own volcanic history. La Tarta lets you compare material from different sources in one exposed face. The visible sequence is the evidence; a tidy list of eruption dates would require additional dating work.
Don’t treat each stripe as one equally long period. A deposit can form rapidly during an eruption, while the interval before the next deposit may be much longer. Thickness also depends on how much material reached this particular location. A thicker band isn’t automatically an older one or proof of a longer eruption.
Weathering changes the surface after deposition. At this high mountain stop, bring a jacket even when the coast feels warm. Wind, runoff and cold conditions help shape exposed volcanic terrain; the official park description specifically highlights runoff erosion at La Tarta I. For Teide’s wider geology, the national park is better understood as a collection of landforms than as one uniform cone.
Compare the small grooves in the loose material with the stronger-looking bands beside them. You don’t need to touch the rock to see that it erodes unevenly. After rain, viewing from a safe position is especially sensible: a roadside exposure is not an invitation to stand beneath loose material.
La Tarta I, La Tarta II and the sea of clouds
There are two named La Tarta stops close together, and their official descriptions differ. La Tarta I is at TF-24 kilometre 31.8 and emphasises erosion in a small summit ravine. La Tarta II is at kilometre 31.9 and focuses on the coloured volcanic layers. Think of them as complementary viewpoints rather than interchangeable photo pins.
For the broad panorama, include neighbouring El Valle at kilometre 31.7. The park catalogue identifies this as a viewpoint over the Orotava valley and Teide. Keeping the names separate saves you arriving at a geology stop and wondering why the postcard composition doesn’t match your map.
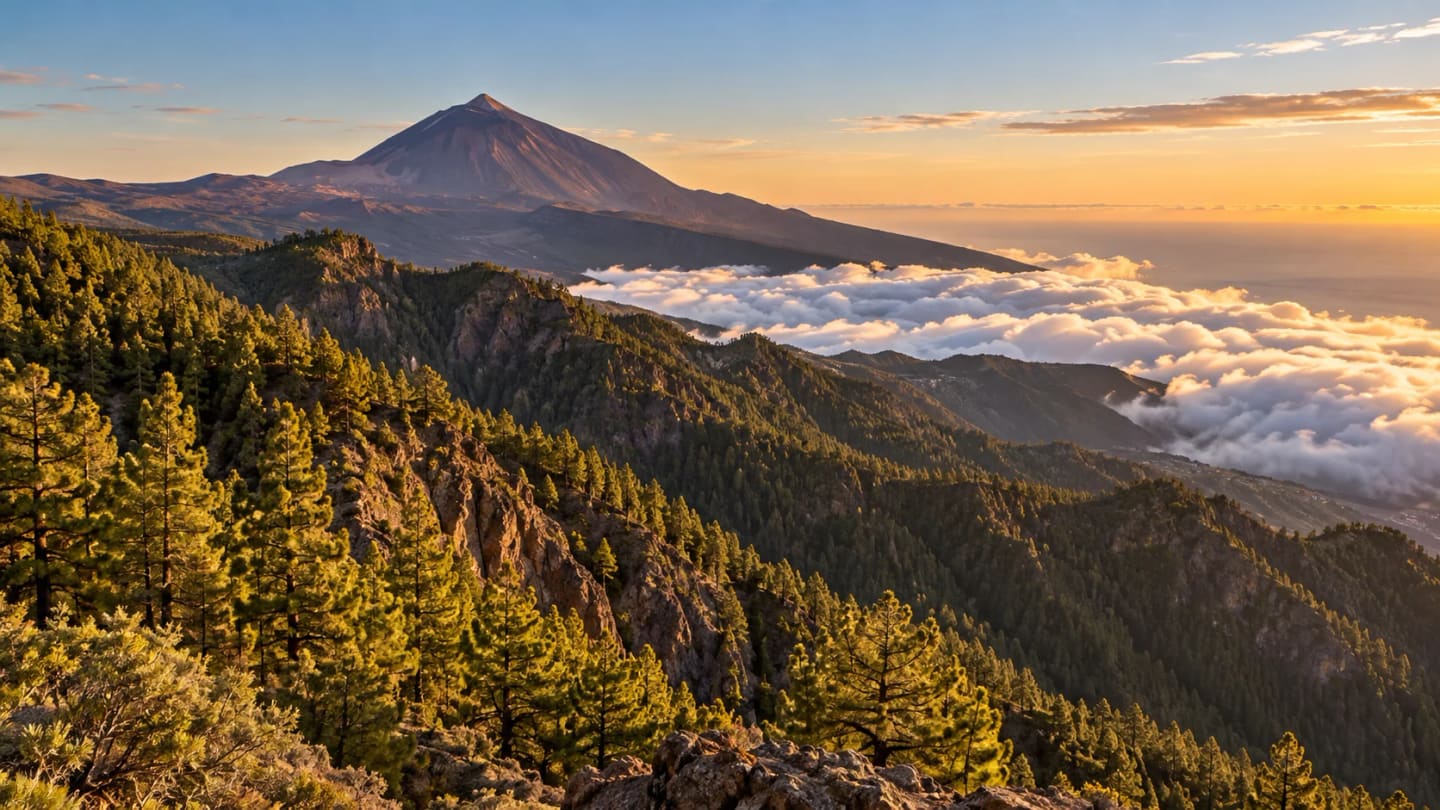
The mar de nubes, or sea of clouds, can hide the lower northern slopes while the higher landscape remains clear. It changes the photograph completely: instead of settlements and fields, you see a white surface beneath the ridges. It is a weather condition, not a daily attraction with an opening time.
If the cloud layer is above you, the same stop may be grey and offer little visibility. If it is absent, the valley itself becomes the subject. I’d plan for both outcomes: geology still gives La Tarta a purpose when distant views disappoint, provided visibility is good enough to drive and stop safely.
Use the marked parking areas and assess each stop independently. Don’t walk around blind bends between viewpoints because the kilometre numbers look close. If a space is full, continue to another legal stopping place. The official park viewpoint catalogue is the reference for the names and locations.
Driving the TF-24 scenic road through La Esperanza
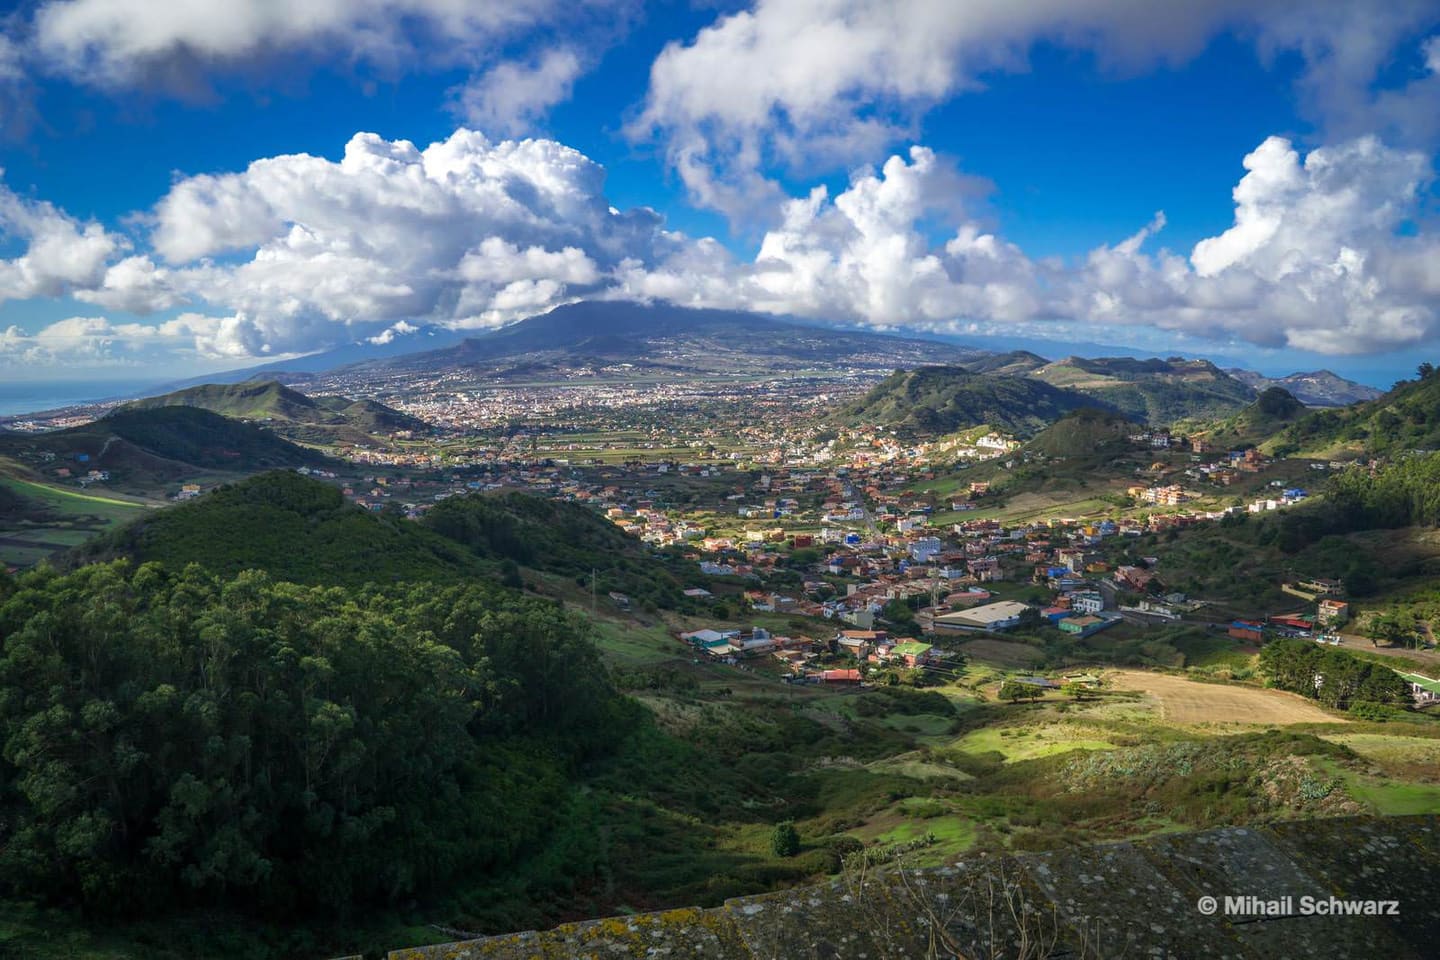
From La Laguna and La Esperanza, TF-24 climbs through forest towards the high ridge and El Portillo. The attraction is the changing landscape: pine woodland gives way to more exposed volcanic ground. La Tarta works as one stop in that progression, rather than a reason to rush past everything else.
Ortuño is a useful early viewpoint on the forest section. Chipeque, also described as Cumbres del Norte, is another option for looking over the Orotava valley and cloud layer. Follow the signed access and current restrictions for any side road; don’t assume every viewpoint sits directly beside the main carriageway.
Choose a small number of stops. A ridge drive with time to get out, look and put on a jacket is more enjoyable than repeatedly pulling into every turnout. Allow extra time for bends, weather and parking rather than planning the journey solely from a navigation app’s estimate.
Check road conditions before departure, especially after winter weather or during an alert. If fog reduces visibility, shorten the route instead of chasing a sunset further uphill. Take water and food, and don’t depend on finding a café at the viewpoint. Keep fuel and your return route in mind before continuing into the park.
A drive through La Esperanza makes most sense when you’re starting near La Laguna or Santa Cruz, or deliberately planning a cross-island day. From southern resorts, the Vilaflor approach may fit better. The seven-day Tenerife itinerary helps place the mountain day among your coastal and Anaga outings.
TF-24 from La Esperanza or TF-21 from Vilaflor?
| Your plan | TF-24 via La Esperanza | TF-21 via Vilaflor |
|---|---|---|
| Starting area | Convenient to consider from La Laguna or Santa Cruz | Convenient to consider from southern resorts |
| Main appeal | Ridge, pine forest and several viewpoints | Vilaflor, southern slopes and approach to Las Cañadas |
| Seeing La Tarta | On this route, around kilometre 32 | Requires continuing towards the TF-24 section |
| Cable-car visit | Continue through El Portillo onto TF-21 | Continue north through the park on TF-21 |
| Who I’d choose it for | Travellers making the drive part of the day | Travellers prioritising the park from the south |
Neither road guarantees clear weather or an easy return after dark. Choose around your starting point and main activity. If you have a timed booking, put that first and add viewpoints only when the schedule leaves room. Check the Teide cable-car guide before combining a roadside visit with an ascent.
Photographing the layers, sunset and night sky
For the layers, begin with a normal or short telephoto view that isolates the bands from the road. Include a wider frame too: the bend and barrier show how the exposure sits in the landscape. Keep both shots from a safe viewing position instead of stepping into traffic for a cleaner foreground.
Late afternoon can add warmth and texture, but the lighting depends on the face’s shadow and the weather. Arrive early enough to inspect the angle before committing to sunset. A bright daytime photograph may show the geological colours more clearly than a dramatic frame with most of the cutting in darkness.
A polarising filter can help control glare and deepen colour, but rotate it while watching the result. At wide angles it can make a blue sky uneven. Protect the pale pumice from blown highlights, and avoid pushing saturation until the bands look painted. The photograph should help someone recognise the place.
For clouds and Teide, try a longer focal length to simplify overlapping ridges. Wait for a break in the cloud if it changes the composition, but set a departure time. A roadside viewpoint is a poor place to turn a missed photograph into an improvised late-night stay.
Astrophotography needs a separate plan: warm clothes, a headtorch, a stable tripod and a legal place to stop clear of vehicles. Check moonlight, weather and the return drive. Use the Tenerife stargazing guide to compare a guided evening with doing it yourself; a daytime viewpoint visit doesn’t reserve a night-time observing space.
Choose the extra that fits your mountain day
Teide excursions
Choose a guided mountain day if you’d rather leave the driving to someone else. Check the actual route, pickup, duration, inclusions and cancellation terms: a Teide tour doesn’t automatically stop at La Tarta.
Compare Teide toursAstronomy tour
A guided evening suits travellers who want help interpreting the sky. Confirm whether telescopes, warm clothing, transfers and a weather cancellation option are included before booking.
Plan a stargazing eveningCar hire
A car gives you control over ridge-road stops, with parking and mountain driving as the trade-off. Compare deposit, excess, fuel policy and total cost before choosing it over a tour.
Decide whether to rentFrequently asked questions
How long should I allow at Mirador La Tarta?
Allow roughly 15–30 minutes to look at the layers and take photographs, as a planning estimate. Add time for neighbouring viewpoints and parking; don’t treat this as the duration of the whole mountain drive.
Is La Tarta a hike or a cable-car stop?
It is a roadside viewpoint area on TF-24. The cable car is a separate attraction reached via TF-21, with its own booking and operating conditions.
Can I guarantee a sea-of-clouds photograph?
No. Cloud height and visibility change. Keep the geological stop as your main reason to visit and regard the panorama as weather-dependent.
Sources and your next step
Facts checked on 30 September 2026 using the geological inventory and park catalogue linked above, plus Tenerife Tourism’s viewpoint guide. Photography and timing suggestions are editorial advice, not guarantees.
Choose your approach road, check conditions and leave room for two or three worthwhile stops. I’d keep La Tarta for the layers and choose the neighbouring panorama according to the sky you actually find.